If you’ve ever worked with UV resin, you know it looks easy — until you’re staring at a tacky, half-cured charm with bubbles trapped inside 😭
Don’t worry — I’ve made all the mistakes so you don’t have to! Whether you’re just starting out or leveling up your resin game, here are 5 common UV resin mistakes and how to fix them
1. Curing Too Far (or Too Close)
The mistake: Holding your UV light too far from your piece = weak cure.
Too close? You risk overheating or uneven hardening.
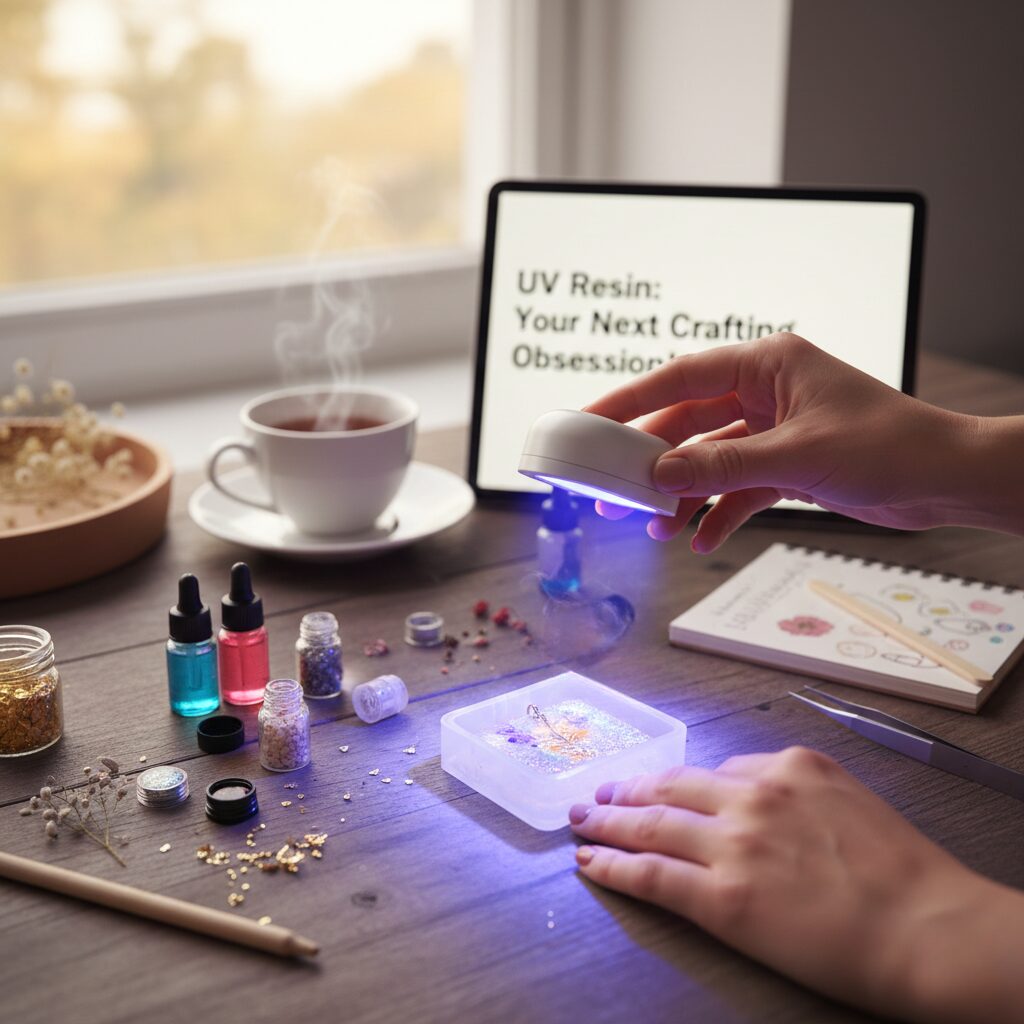
✅ Fix it: Keep your resin piece around 1–2 inches (≤5cm) from the UV light for even, solid curing. I love using my Resiners Wireless UV Lamp because it’s adjustable and super easy to position!
2. Only Curing the Top Side
The mistake: Resin might look cured on top but still be gooey underneath.
✅ Fix it: Flip your piece over after the first cure and zap the back side too. Especially important for thicker molds like dominos or layered pendants!
3. Skipping Bubble Control
The mistake: Pouring fast or not waiting = trapped air bubbles that show up after curing.
✅ Fix it:
- Pour slowly and in layers
- Let resin sit a few minutes before curing
- Use a toothpick or heat gun to pop bubbles
- Gently warm your resin bottle beforehand to reduce thickness (Cure Air preheating station is perfect for this!)
4. Touching Resin Right After Curing
The mistake: Fingerprints or dents on the surface because the resin is still warm.
✅ Fix it: Wait 2–5 minutes after curing before touching or removing your piece from the mold. Let it fully cool — trust me, your finish will be ✨flawless✨
5. Using Cheap or Low-Quality UV Resin
The mistake: Not all resin is created equal! Some formulas cure tacky no matter what you do.
✅ Fix it: Look for UV resins that say “hard, non-tacky cure” in the description. I’ve had the best luck with clear, no-yellowing formulas from trusted craft brands — and always store your resin away from sunlight so it doesn’t degrade!
Bonus Tips from My Resin Desk
✔️ Use a non-stick silicone mat to work on
✔️ Cover your curing area to keep dust out
✔️ Store your UV light in a cool, dry place
✔️ Keep baby wipes nearby for fast cleanup!
Want to See My Favorite UV Light?


I use the Resiners Wireless UV Resin Lamp — it’s foldable, rechargeable, and SO easy to use.
👉 Click here to check it out on Amazon
If you’ve made any of these mistakes, you’re not alone! Every resin artist learns through trial and error. Hopefully, this helps you save time, resin, and frustration — and create even more beautiful pieces
With love & glitter,
Cristina @ UniekMakes ✨💕